Here is one of my favourite crafts to do around Thanksgiving time and it makes a great center piece when it is all done. For step by step directions, click here.
Category Archives: Fine Motor Skills

Developing fine motor skills through play

When a student starts kindergarten and has a hard time holding a pencil or printing his/her name, many of my parents are very keen and willing to help out at home in any way they know how. They usually offer to do things like printing practice or buy workbooks and are open to any other suggestions I may have to help their child. I often find myself repeating to parent after parent that, ironically, printing practice is often one of the least effective ways to help kindergarten students who are struggling, improve their printing. In order to print (or draw, paint, cut, etc.) effectively, students need to have developed hand dominance as well as good muscle strength and control in their shoulders, hands and fingers. There are many simple things parents can be do with their children to help develop these muscles.
This year in order to help our parents best help their children at home, we decided to try something new. We held a parent and student evening workshop, by invitation only, targeting our students who were most in need of extra support and practice. We had an amazingly positive response.
We started the evening in one classroom with the parents while their children played next door. Parents were all given this “Developing Fine Motor Skills” handout and we discussed some of the simple things they could do at home with their children to develop hand dominance, shoulder stabilization, hand and finger strength and finally, better fine motor control. After our short presentation, children were given a passport and were asked to complete at least 5 of the 12 stations with their parents. Parents had the job of identifying how each of the activities they completed helped develop fine motor skills (they could refer to their handout if needed!).
Once done, students could turn in their passport for a goodie bag that was full of fine motor activities to do at home. The pictures below show the goodie bags we created for each student.


At the end of the evening, students left excited by the chance they had to play with their parents at school and parents left with a better understanding of simple things they could do at home to help their child.
Share this:

Hurray for Learning
![]()
Now that I have dabbled with blogging for a bit, I realize that I have many ideas to share that don’t fit my “Hurray for Play” vision. I have decided to create a second blog, “Hurray for Learning” and from today onward, I will separate “learning through play” posts from “language learning” posts. To check out my other blog, please go to Hurray for Learning.
Share this:
Top 10 arrrrr-t and craft activities to do as you set sail on your next pirate adventure
10. Pirate hats – Print and copy the pirate hat template from www.learningenglish-esl.blogspot.ca on 8.5″ x 14″ paper. Once students have coloured and cut out their hats, staple them in the middle of a 2″ x 24″ strip, leaving about 2″ of the hat brim unattached on each side. Fit to each student’s head and staple strip into a loop.

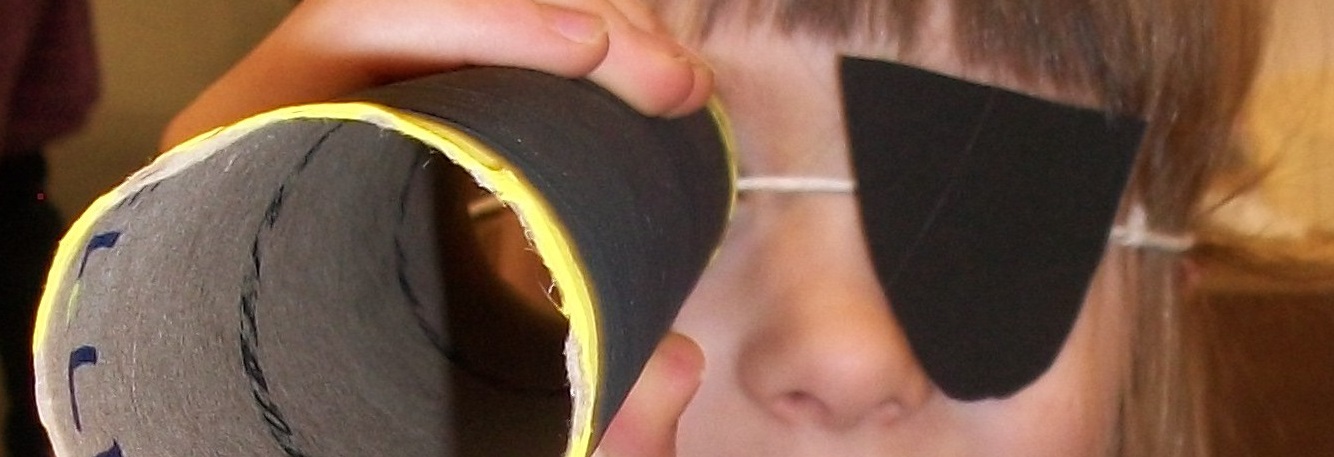
9. Eye patches – These super quick and easy! All you need is a small piece of paper, some string and some tape. I make a patch tracer out of cardboard for my students to use as tracing is a great 2-handed activity for developing hand dominance and building fine motor skills.
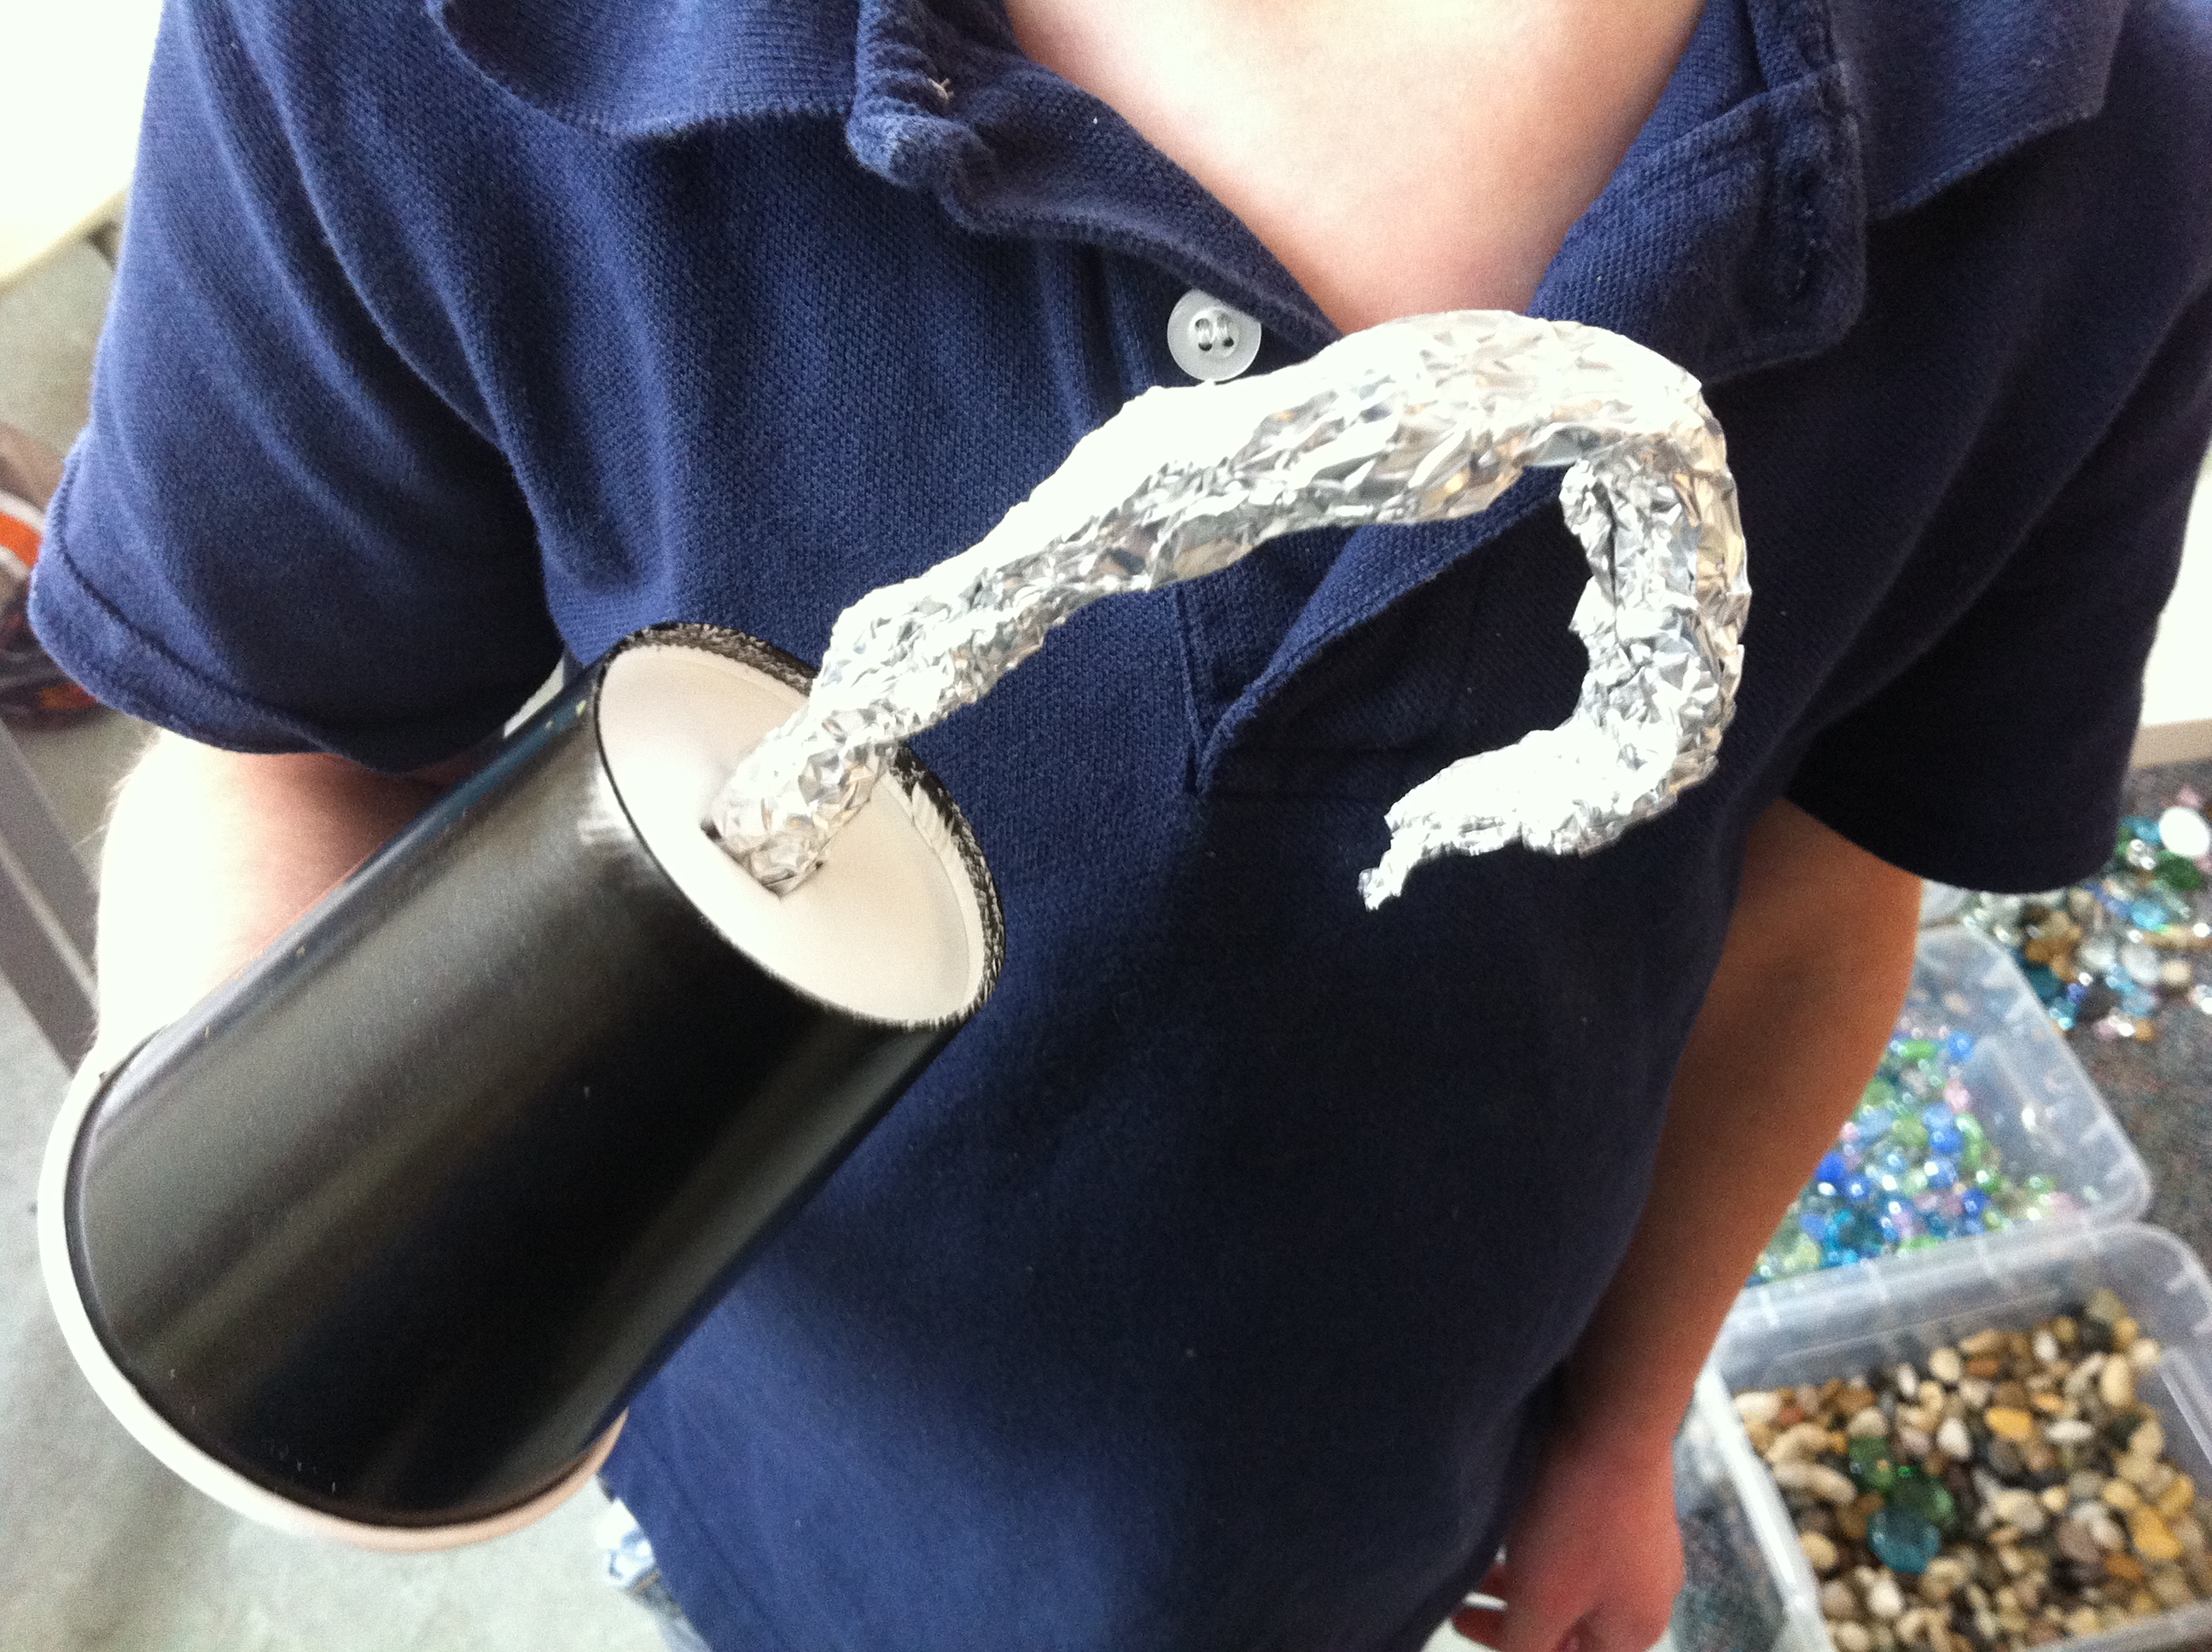
8. Hooks – Roll a 12″ piece of tinfoil up, squeeze it to form a tight “rod” and shape that rod into a hook. Take a cup (we used black paper cups here) and cut an “X” in the bottom. Push about 3″ of the tinfoil hook through the “X ” in the cup to create a “handle” to hold on to on the inside of the cup.
7. Telescopes – All you need for this is a paper towel roll, some paint, glitter and some white glue. For this one, I mixed the white glue into the yellow paint so that students could dip the ends of their telescope into glitter (and have it stick) once they are done painting.

6. Noodle necklaces & tin foil earrings – Every good pirate needs some jewels. Our pirates hang their tin foil loop earrings around their ear with an elastic band and we use dyed pasta to make our necklaces. When doing threading activities with string, try wrapping masking tape around the end of the string to prevent fraying. To learn how to dye pasta, click here.

5. Treasure maps – Have students draw their treasure maps with wax crayons. When they are done drawing, have them paint their maps with watered down brown paint, then rinse them in a bucket (or sink of water) and then leave to dry. (You can also dye them using tea however they need to soak in the tea for a while and this can be less efficient if you are working with a classroom of children). Once dry, my students crumpled them up to make them look really old and some added little rips around the edges.

4. Paper bag treasure chests – These are quite simple to do. For complete instructions, please click here.

3. Salt dough treasure – Make salt dough. Have students roll the dough and cut it into circles (we use water glasses). Texture and details can beaded to the “treasure” using things like thread spools, screws, nuts and bolts, nails, etc. Once cooked, paint with gold acrylic paint and finish with glitter. Once dry, put them in your paper bag treasure chest for safe keeping!
2. Pirate pastel pictures – Once we have done lots of pirate crafts and built our pirate language and vocabulary, we transfer this knowledge to drawing pirates. Before we go to paper, we do guided drawing activities on white boards. I give my students big paper (12″ X 18″) to draw on and we use oil pastels to colour them (Kindergarten students have great success with pastels and love the ease of adding bright colours to their art work).

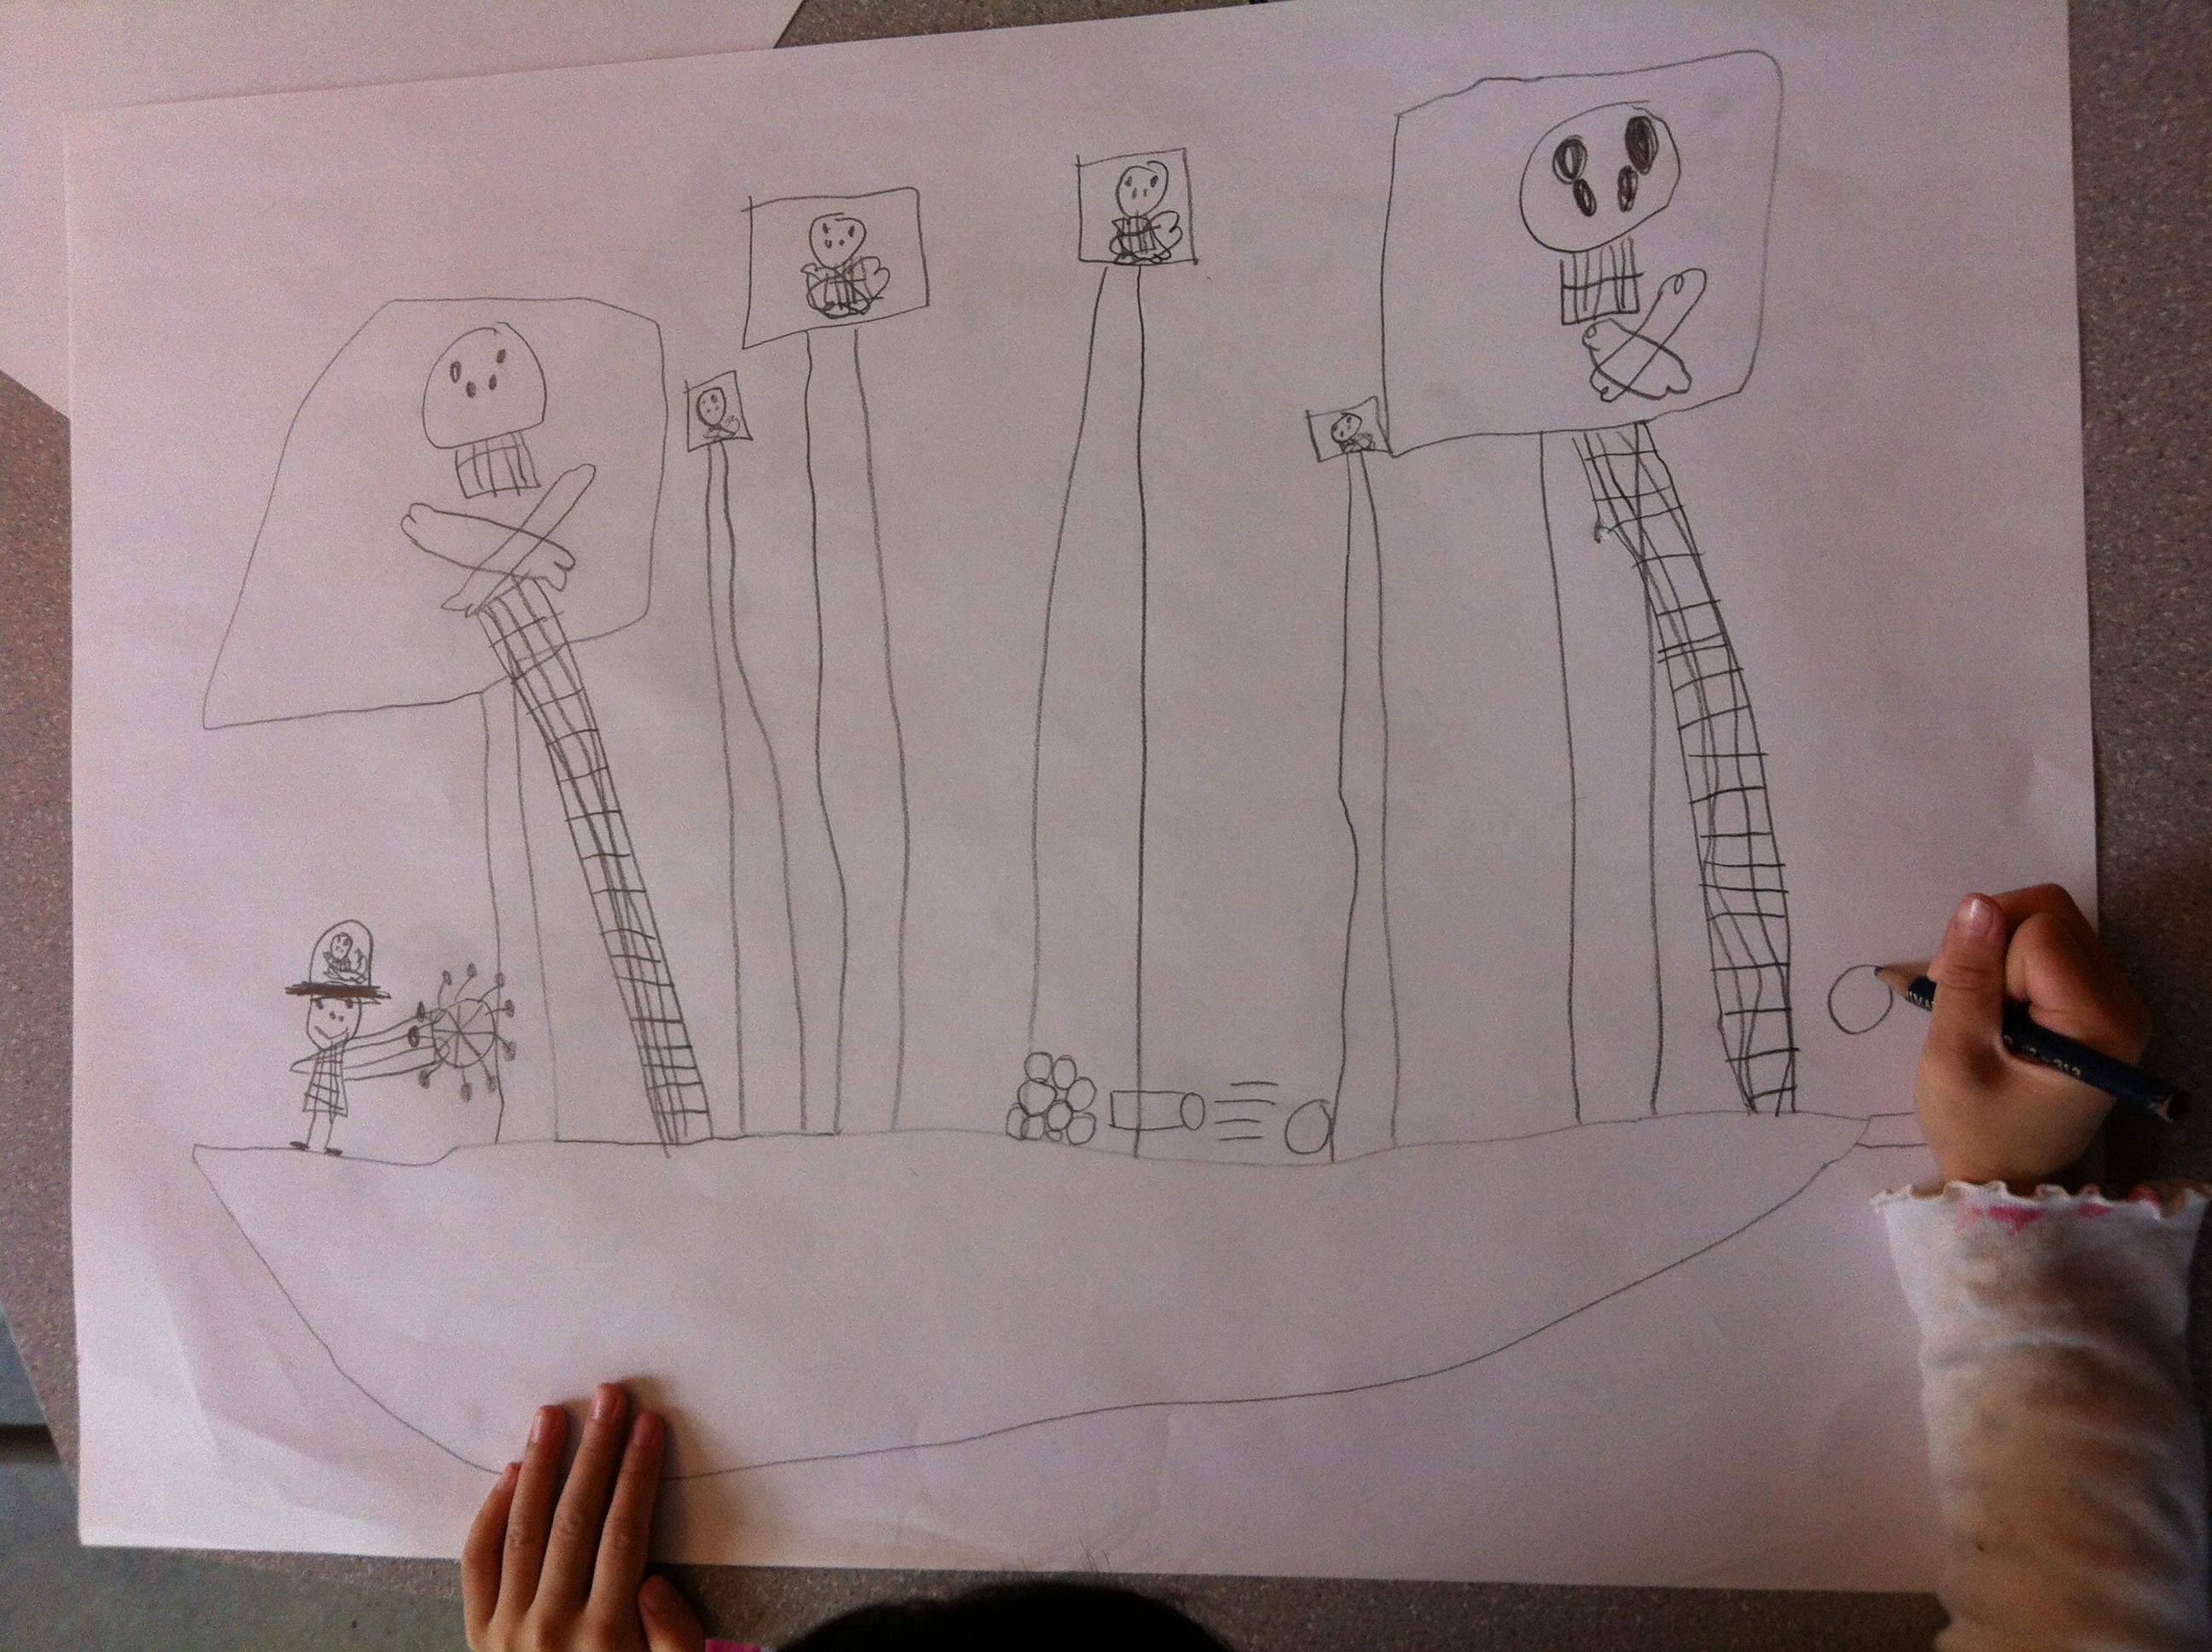
1. Pirate ship pencil drawings – After you have looked at pictures of pirate ships in books (or online) with your students, brainstorm all the things that a pirate ship needs. Give them a big piece of paper (about 16″ x 24″) and have them draw a ship with as many details as possible (we will also do guided drawing before we go to paper). It is amazing what they can do when they have a big piece of paper to draw on.

Share this:

Quick Tip – Tracing letters and shapes made easy
Looking for a simple way to practice drawing basic shapes or printing letters? Try writing it in highlighter for your child to trace. They can see what they need to write or draw and you can see their pencil lines when they are done.

Here’s one more highlighter tip…..use a highlighter to let students know that they have a simple correction to do. If they reverse a letter or number or forget a capital somewhere, simply print over top of the error with highlighter. When they go back to it, it is easy for them to see their simple mistake, erase and correct it.
Share this:

Paper chains with purpose
Everyone loves making paper chains, especially during the holidays. Here is a new way to use those paper chains. Try using those paper chains to countdown the days to Christmas (or to winter break for students who don’t celebrate Christmas).
In our class, we start with chains that are 25 links long on December 1st (our strips are 8.5″ long by 1.5″ wide). As patterning part of our curriculum, we talk about all the different patterns we can make out of two different colours (AB, AAB, ABB, AABB, ABBB, etc.). When they are done, we then hang them up on the wall, spread out around the classroom so that each child can easily get to his or her chain each morning or afternoon.
 Each day, we count the links left on our chains and then take off as many as needed (usually one per day but after a weekend, it may be 2 or 3). We then count to see how many are left. On the strips that we ripped off, we practice printing numbers. (With older students, I would have them write a number sentence like “25-3=22” but with younger ones, we count and if there are 22 days left until Christmas, for example, we might practice writing “22” over and over again on one of the strips we just ripped off.
As our countdown continues, we get to watch our chains get shorter and shorter and shorter, we practice printing meaningful numbers for a purpose that is motivational for students, we count backwards (which, by the time we are close to 10, students have figured out the pattern and really understand what is happening) and in just 2 minutes a day.
Do you have a favourite way to count down to something special in your classroom?
Share this:

Halloween crafts for early learners
I love Halloween for doing crafts with my kinders. It seems that my boys (who are often the ones needing more exposure and practice with activities involving tracing, cutting, threading, etc.) are often very motivated and interested in practicing these skills when they involve bats, spiders or anything else Halloween.
Here are my top 5 favourite Halloween crafts for early learners (click for instructions):
#5 – Five Little Pumpkins

#4 – Pumpkin Sewing

#3 – Black Cats

#2 – Spider Webs

And my #1 favourite Halloween craft……Pop Can Bats

Do you have a different favourite Halloween craft for early learners? If yes, please share your favourite below.
Share this:

Teaching Kinders to Hold Scissors Properly
If you are like most kindergarten teachers, the beginning of the school year brought you a handful of students who are still learning to hold and use scissors properly. If you are looking for a strategy to help them remember how to hold those scissors, try using these six cues that our OT used with my students. I have made them into a poster with visual cues that my students are able to read independently as a reminder to themselves and each other. (No chicken wings means keep your elbows down).

One other little trick that I sometimes use for students who are having a hard time keeping their elbows down is I have them lie down on their stomach while cutting. As they need their elbows to support themselves, they are forced to keep their elbows down and in turn, use their helper hand to steer.
What do you do in your class to help your students learn scissor skills? If you have another trick or idea, please share it below.
Share this:

Teaching kinders a proper pencil grasp in five simple steps
At the beginning of every kindergarten year, I have at least one child who fists their pencil. Here is my favourite way, in 5 simple steps, to teach most children how to hold their pencil with a proper tripod grasp.
1. Make an elastic pencil holder (as you can see, I made this one out of a black and a blue hair elastic, a big star bead and a small zip tie).

2. Have the child slide their dominant hand through the black elastic.

3. Have the child hold the bead with their middle, ring and pinky fingers. This gives these fingers something to do and gets them out of the way.

4. The thumb and pointer finger become “pinchers” to hold the pencil. I find using a Start Right pencil grip, makes “pinching” easier at first and stops the thumb and pointer from wrapping too far around the pencil.

5. For most pencil fisters (or students who use too many fingers to stabilize their pencil), the pencil will often lean forward when they try using only their thumb and pointer to hold it. To fix this, simply thread the un-sharpened end of the pencil through the small loop you created in the black elastic. The pencil will be tilted back and held in the web space between the thumb and pointer.

Do you have a different tried, tested and true way of teaching your students proper pencil grasp? If so, I’d love to hear about it.
Share this:

Using Scissors on Day 1 – here’s a trick to keep all those little pieces of paper off the floor
If you have ever watched little ones learn how to use scissors, you know how many little bits of paper you can end up with all over the table and floor when some of them try to cut out even the simplest of shapes. For those of you who can’t relate, imagine taking a piece of paper and trimming the edges, a little piece at a time until you are left with the shape you want. Now imagine trying to get all those bits from wherever they landed into the classroom recycle bin. Not an easy feat to say the least!
One simple trick I learned from a colleague a few years back is to put mini-recycle bins on each table. I teach my students from day 1 to put all their little scraps into these bins and they are emptied when we are all done cutting. This simple little trick really helps make clean-up time easier.

My students use mini green recycling bins for all their paper scraps when doing cutting activities.

Our table-top recycling bins

