10. Pirate hats – Print and copy the pirate hat template from www.learningenglish-esl.blogspot.ca on 8.5″ x 14″ paper. Once students have coloured and cut out their hats, staple them in the middle of a 2″ x 24″ strip, leaving about 2″ of the hat brim unattached on each side. Fit to each student’s head and staple strip into a loop.

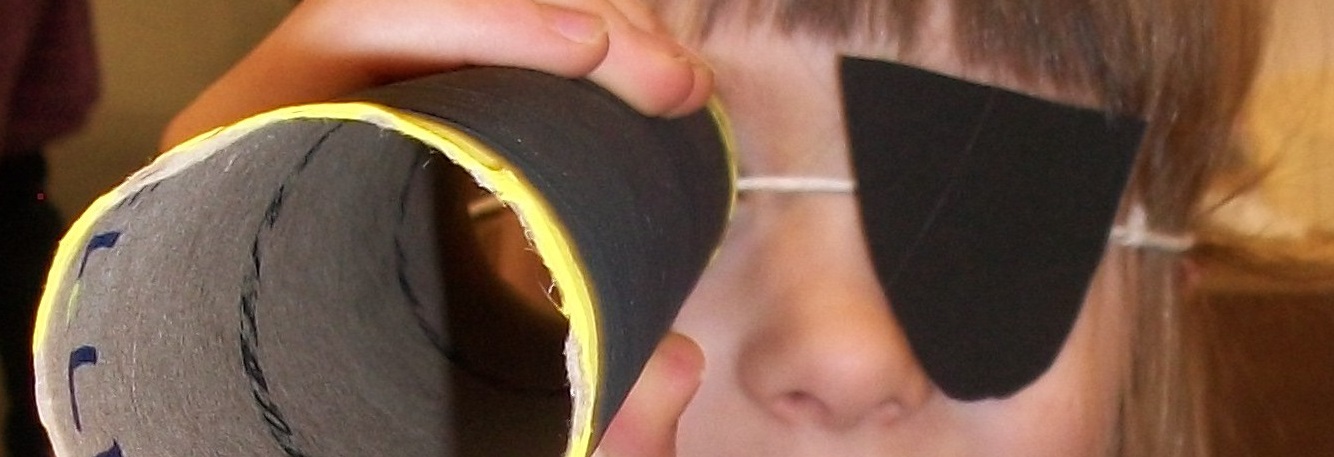
9. Eye patches – These super quick and easy! All you need is a small piece of paper, some string and some tape. I make a patch tracer out of cardboard for my students to use as tracing is a great 2-handed activity for developing hand dominance and building fine motor skills.
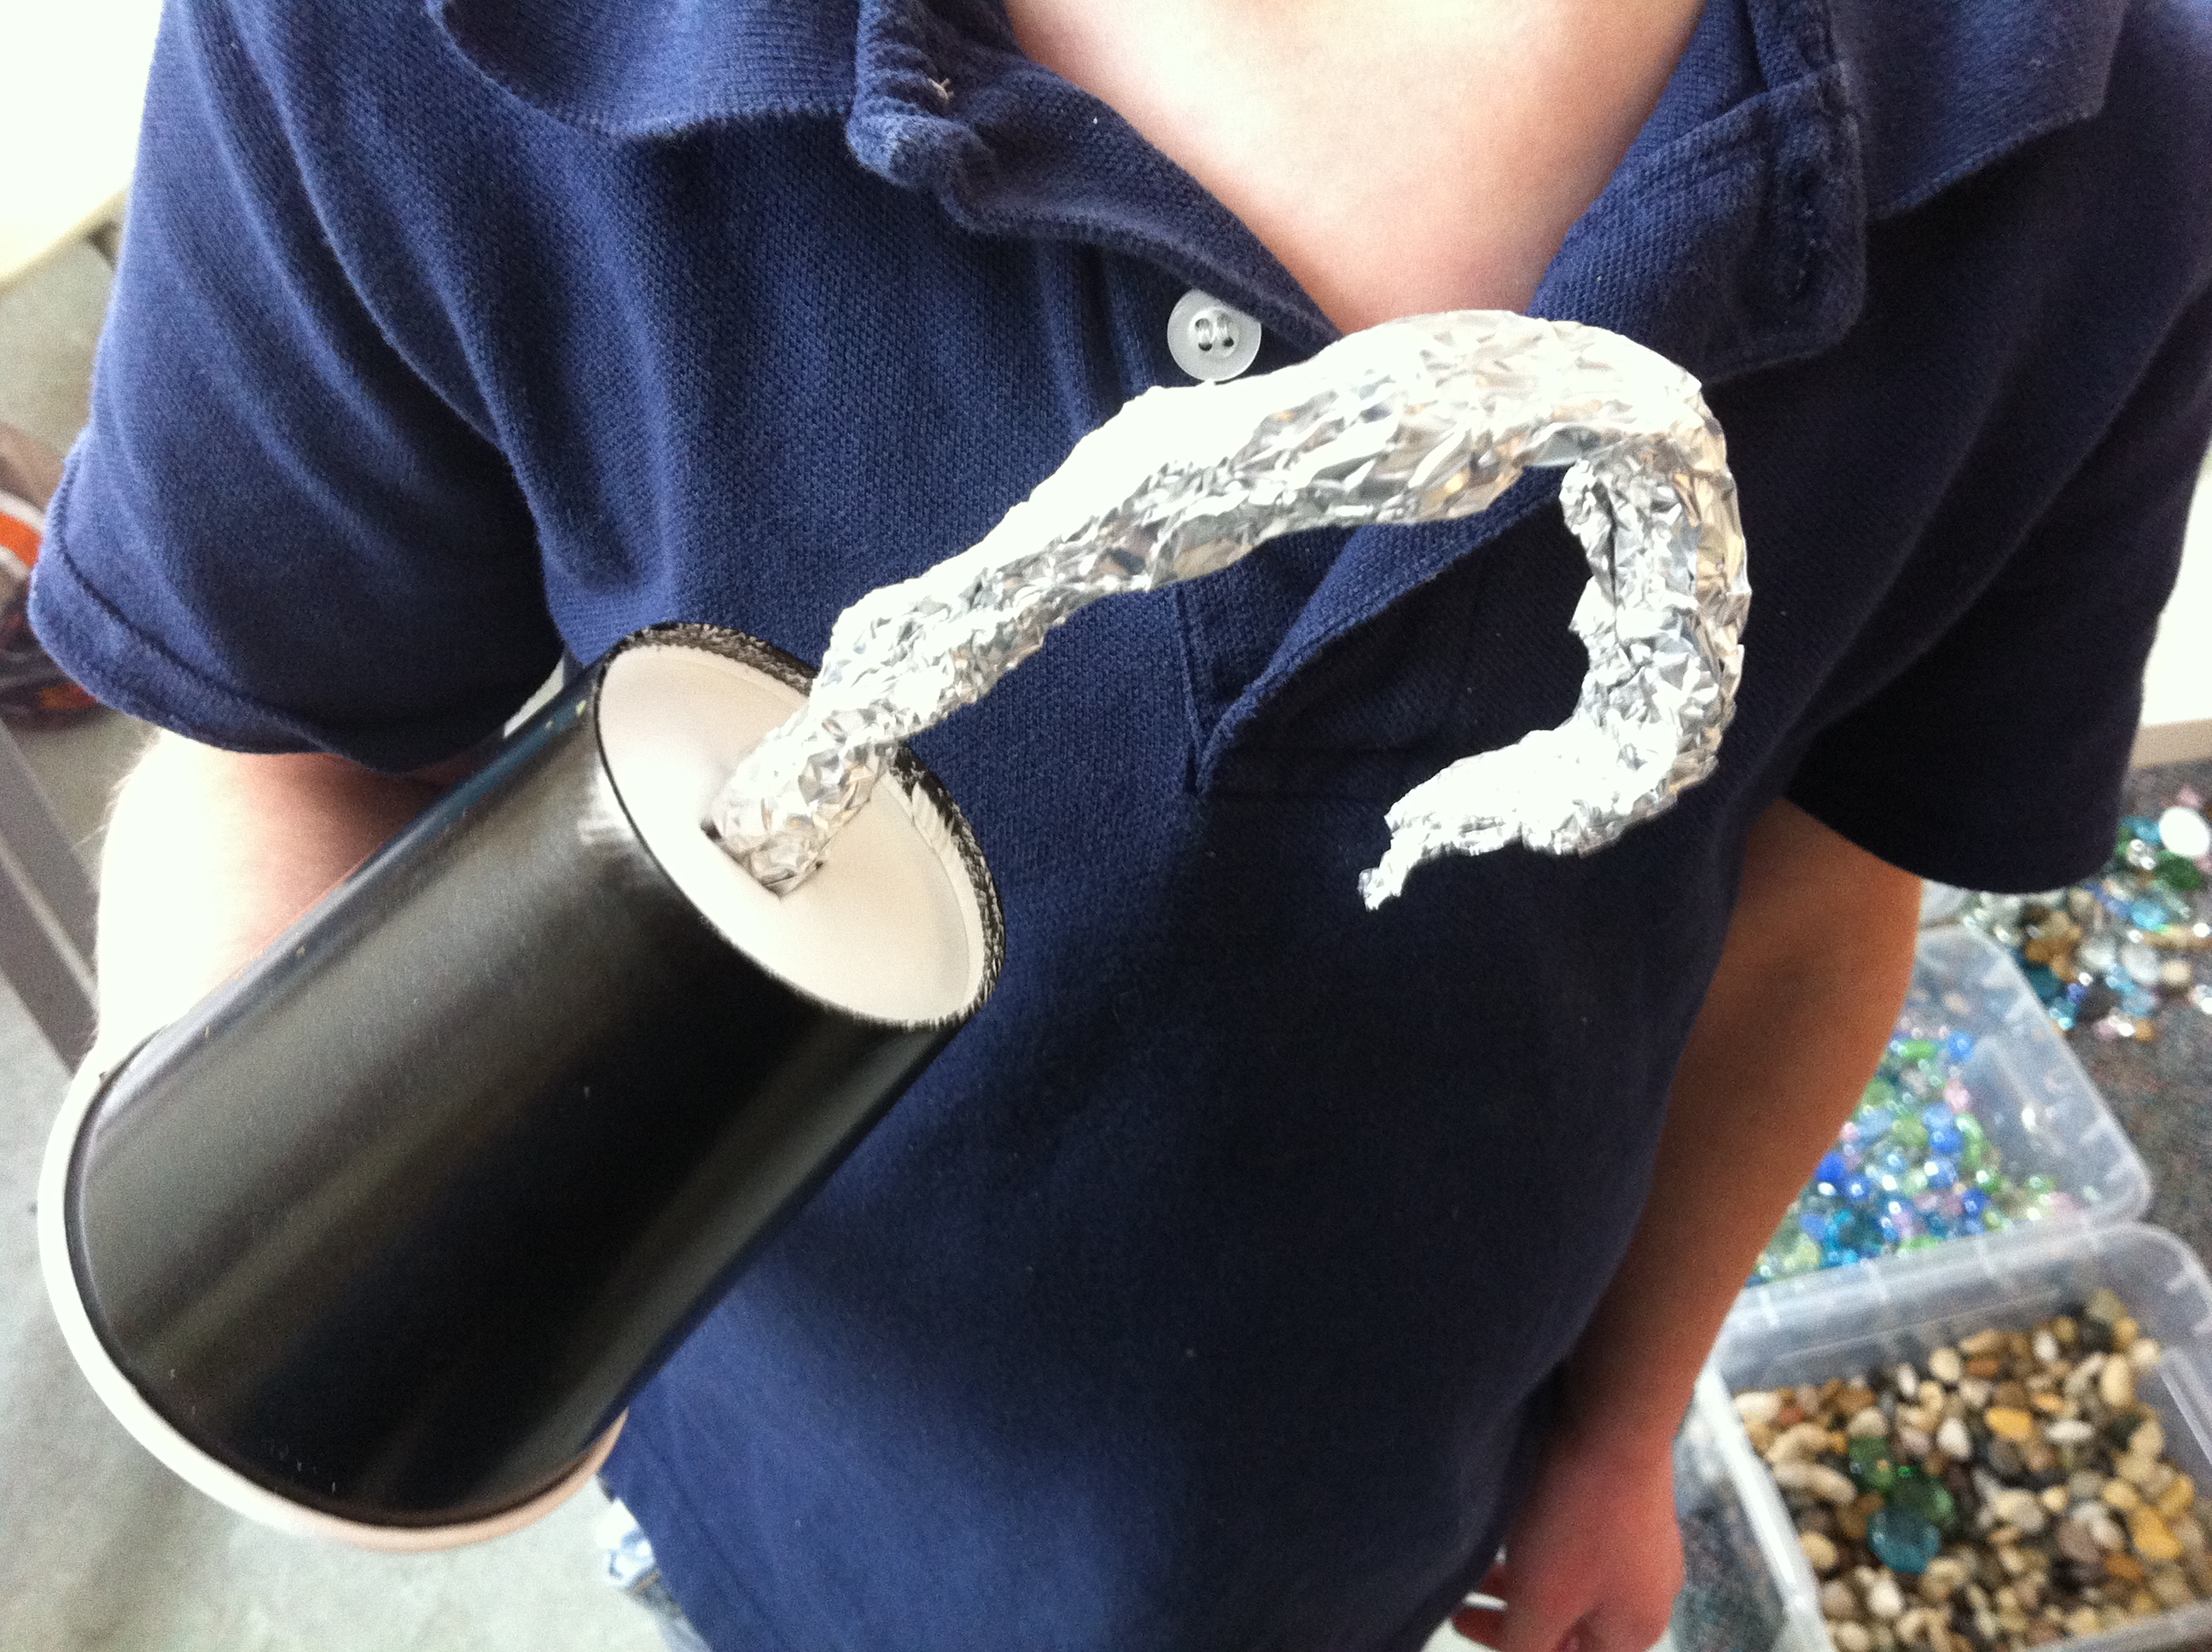
8. Hooks – Roll a 12″ piece of tinfoil up, squeeze it to form a tight “rod” and shape that rod into a hook. Take a cup (we used black paper cups here) and cut an “X” in the bottom. Push about 3″ of the tinfoil hook through the “X ” in the cup to create a “handle” to hold on to on the inside of the cup.
7. Telescopes – All you need for this is a paper towel roll, some paint, glitter and some white glue. For this one, I mixed the white glue into the yellow paint so that students could dip the ends of their telescope into glitter (and have it stick) once they are done painting.

6. Noodle necklaces & tin foil earrings – Every good pirate needs some jewels. Our pirates hang their tin foil loop earrings around their ear with an elastic band and we use dyed pasta to make our necklaces. When doing threading activities with string, try wrapping masking tape around the end of the string to prevent fraying. To learn how to dye pasta, click here.

5. Treasure maps – Have students draw their treasure maps with wax crayons. When they are done drawing, have them paint their maps with watered down brown paint, then rinse them in a bucket (or sink of water) and then leave to dry. (You can also dye them using tea however they need to soak in the tea for a while and this can be less efficient if you are working with a classroom of children). Once dry, my students crumpled them up to make them look really old and some added little rips around the edges.

4. Paper bag treasure chests – These are quite simple to do. For complete instructions, please click here.

3. Salt dough treasure – Make salt dough. Have students roll the dough and cut it into circles (we use water glasses). Texture and details can beaded to the “treasure” using things like thread spools, screws, nuts and bolts, nails, etc. Once cooked, paint with gold acrylic paint and finish with glitter. Once dry, put them in your paper bag treasure chest for safe keeping!
2. Pirate pastel pictures – Once we have done lots of pirate crafts and built our pirate language and vocabulary, we transfer this knowledge to drawing pirates. Before we go to paper, we do guided drawing activities on white boards. I give my students big paper (12″ X 18″) to draw on and we use oil pastels to colour them (Kindergarten students have great success with pastels and love the ease of adding bright colours to their art work).

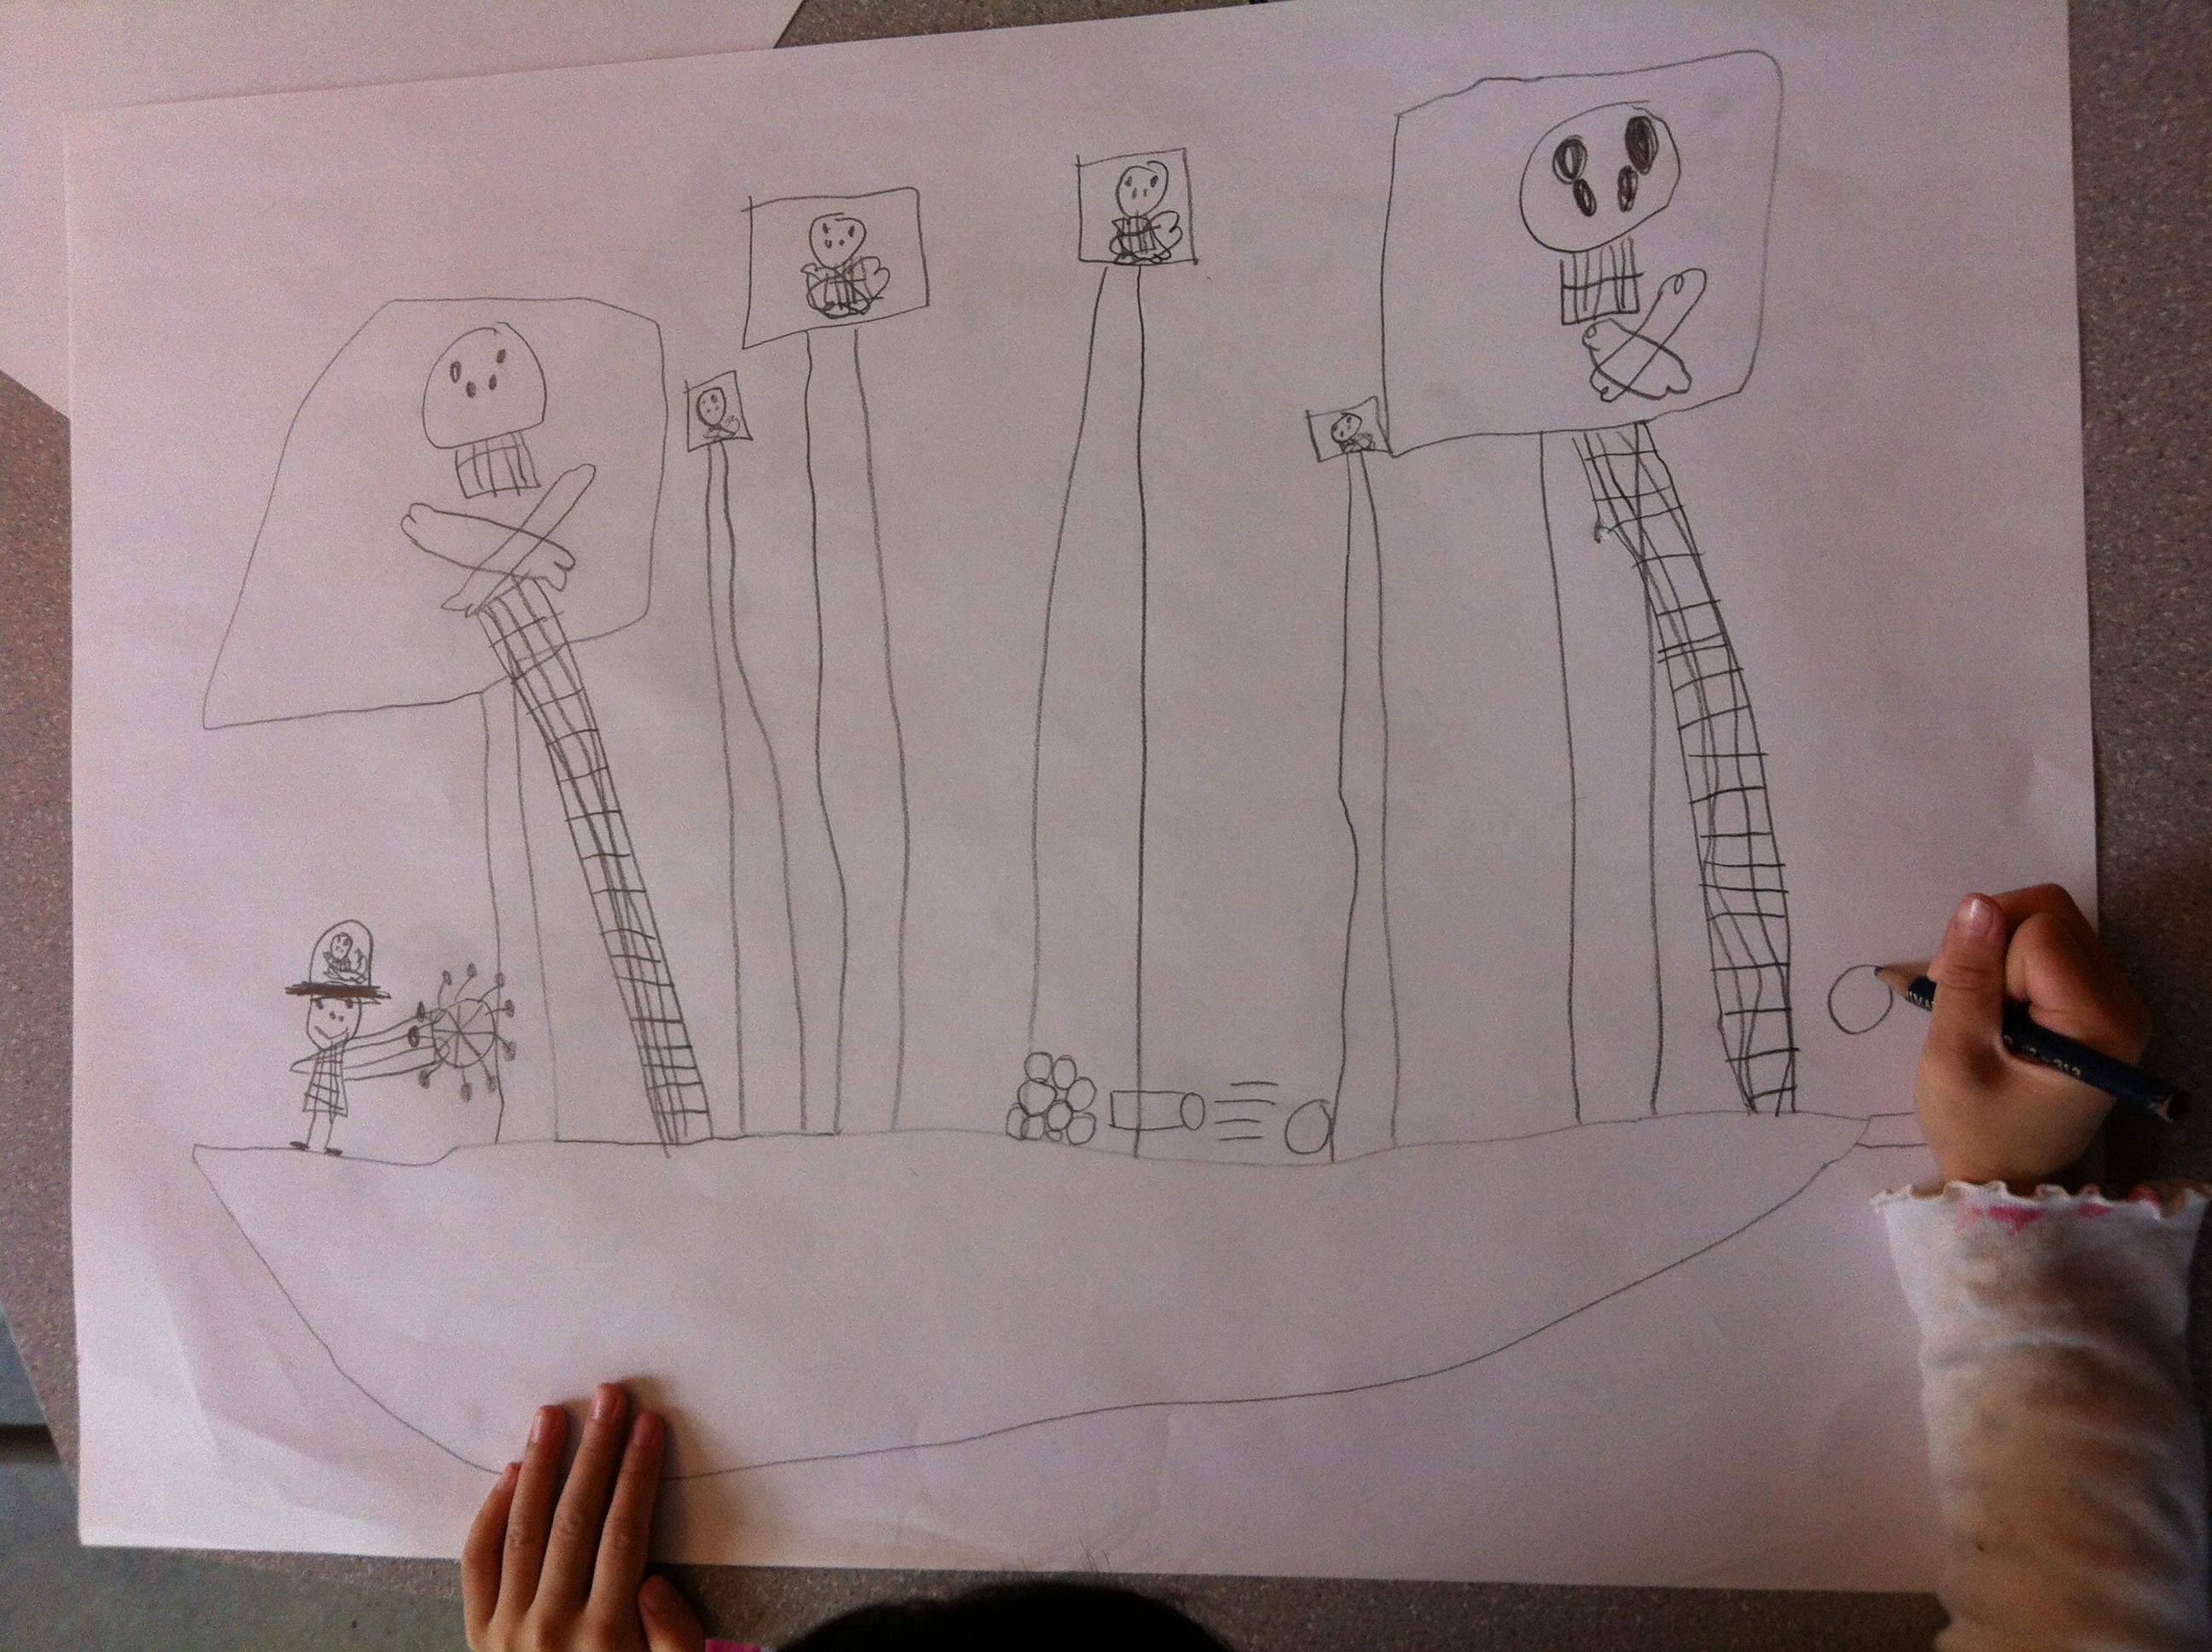
1. Pirate ship pencil drawings – After you have looked at pictures of pirate ships in books (or online) with your students, brainstorm all the things that a pirate ship needs. Give them a big piece of paper (about 16″ x 24″) and have them draw a ship with as many details as possible (we will also do guided drawing before we go to paper). It is amazing what they can do when they have a big piece of paper to draw on.


